1 / 5
Indications:
Contraindications:
Step 1: Patient Positioning - Position patient supine with arm on a radiolucent hand table. Apply tourniquet.
Step 2: Surgical Approach - Modified Henry Approach via FCR tendon sheath incision. Protect radial artery and elevate pronator quadratus (PQ).
Step 3: Fracture Reduction - Achieve anatomic reduction before plate application. Use joystick K-wires and Freer elevators for manipulation.
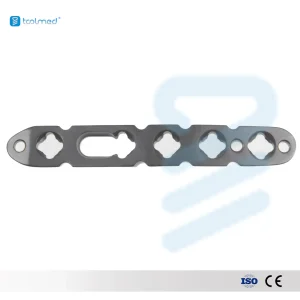
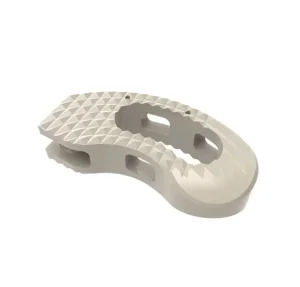
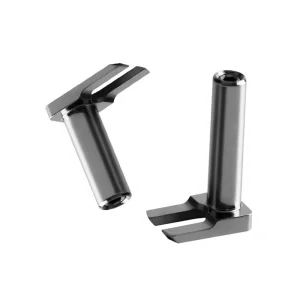
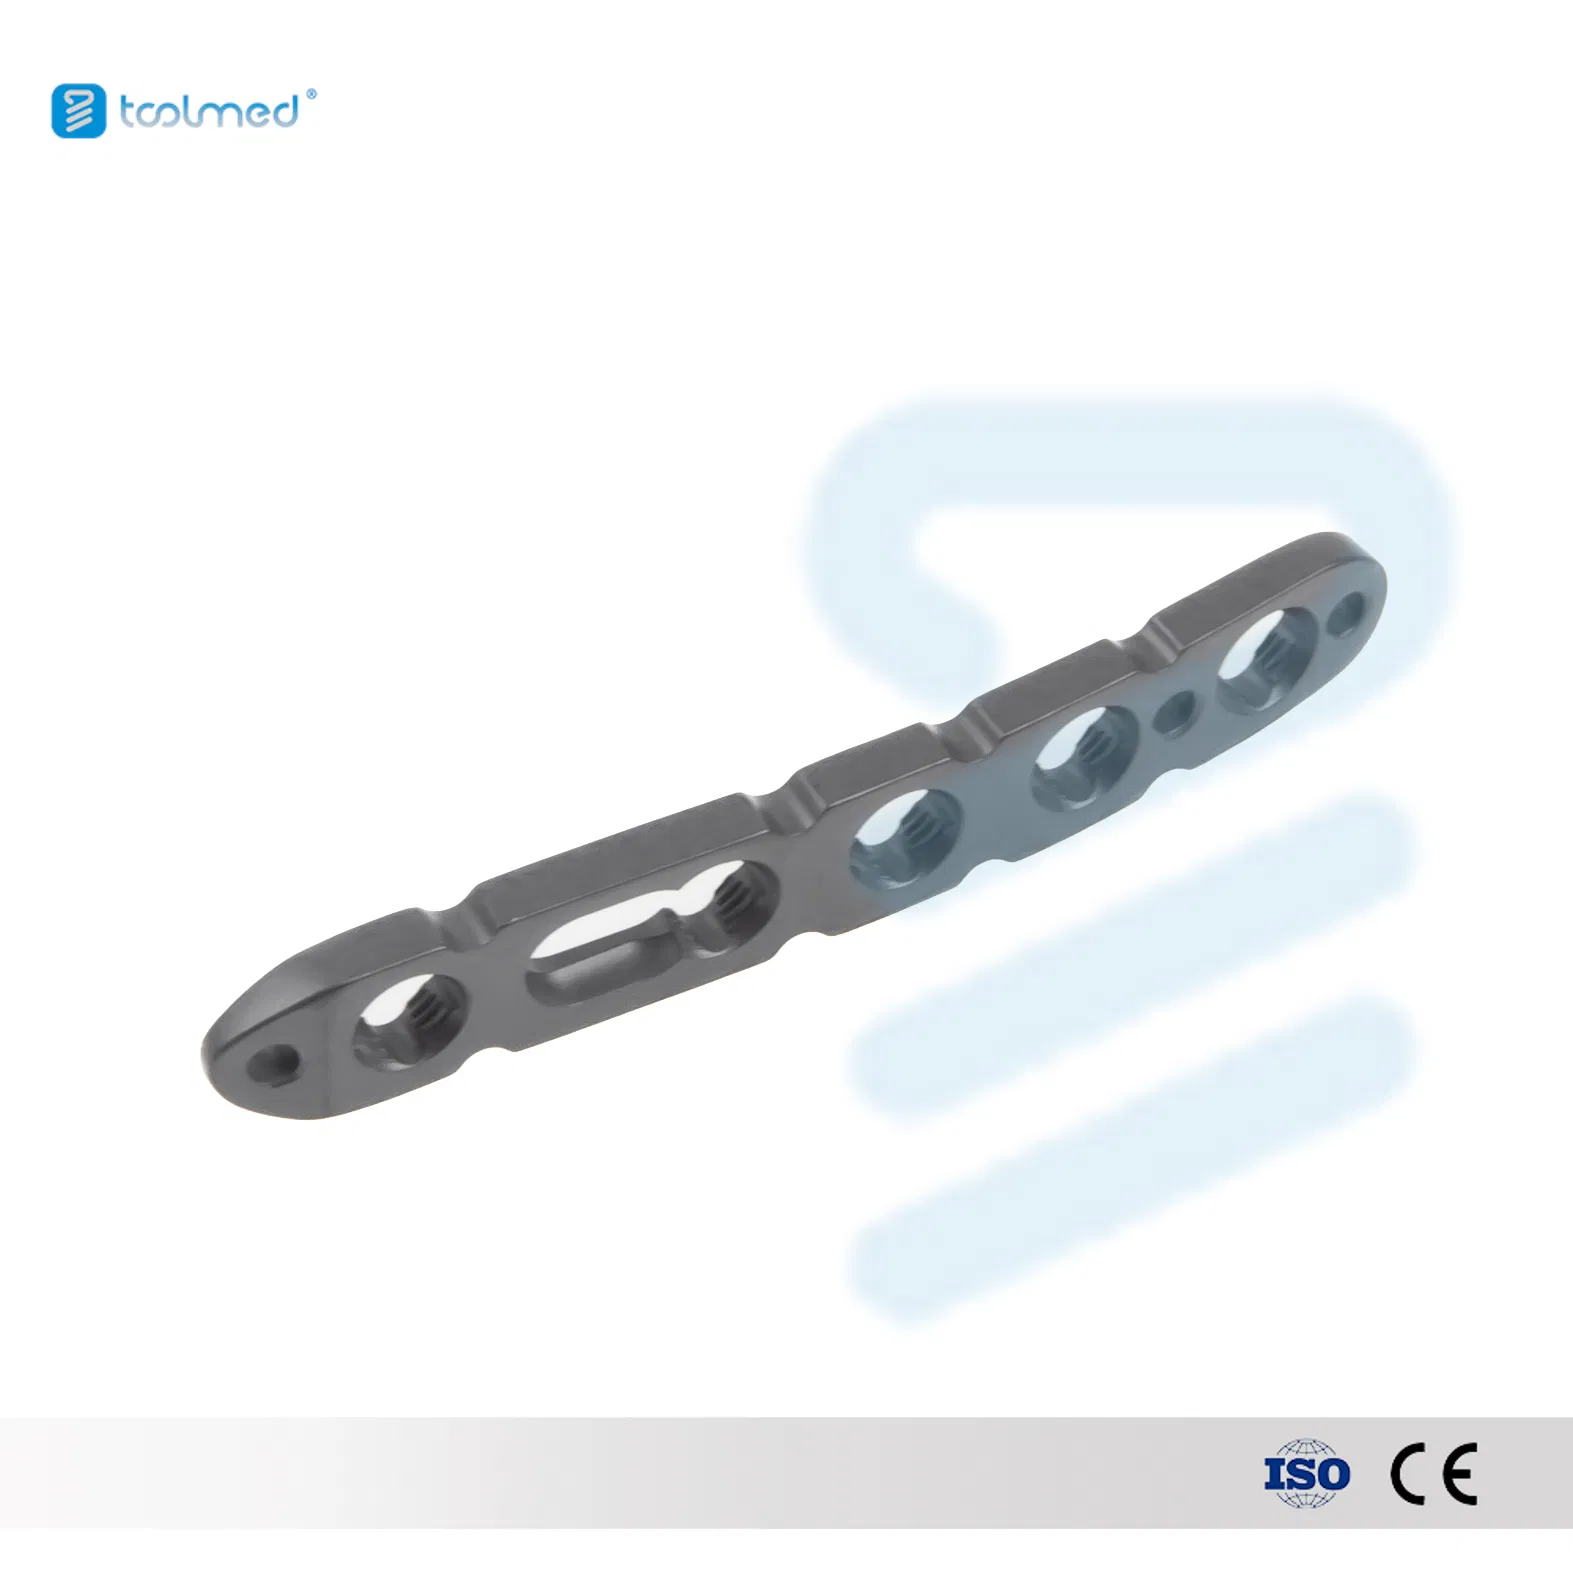
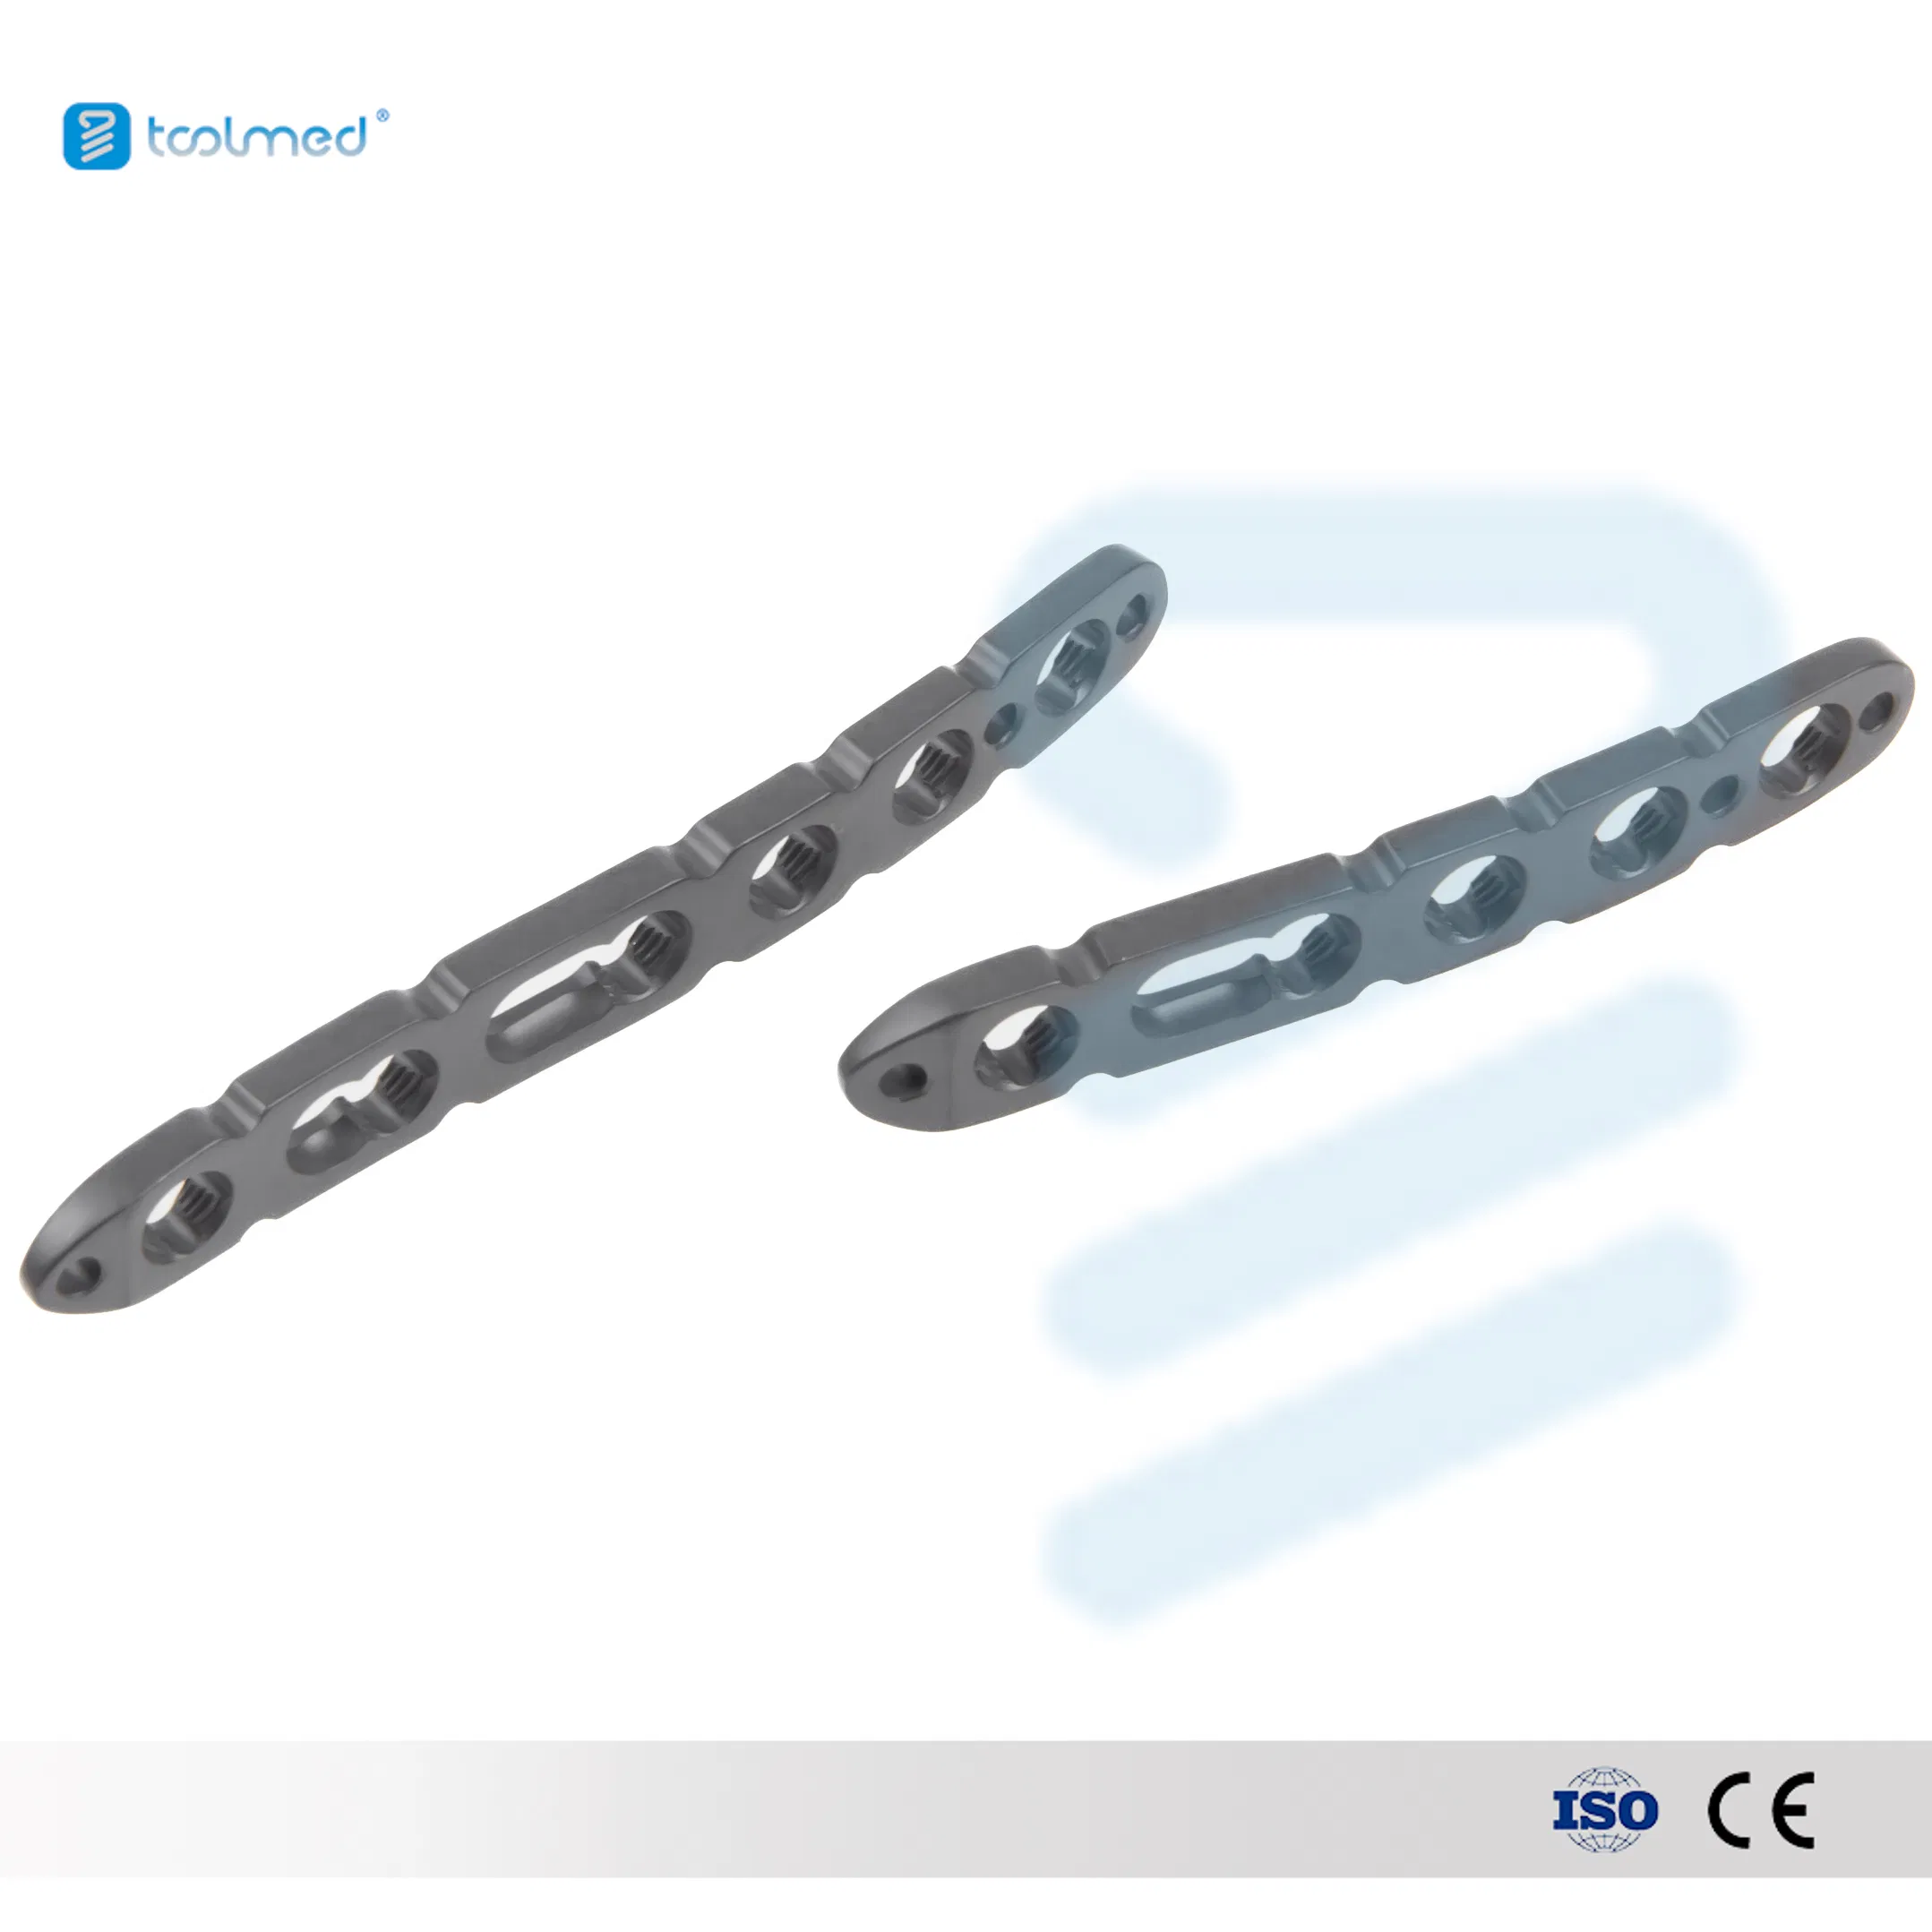
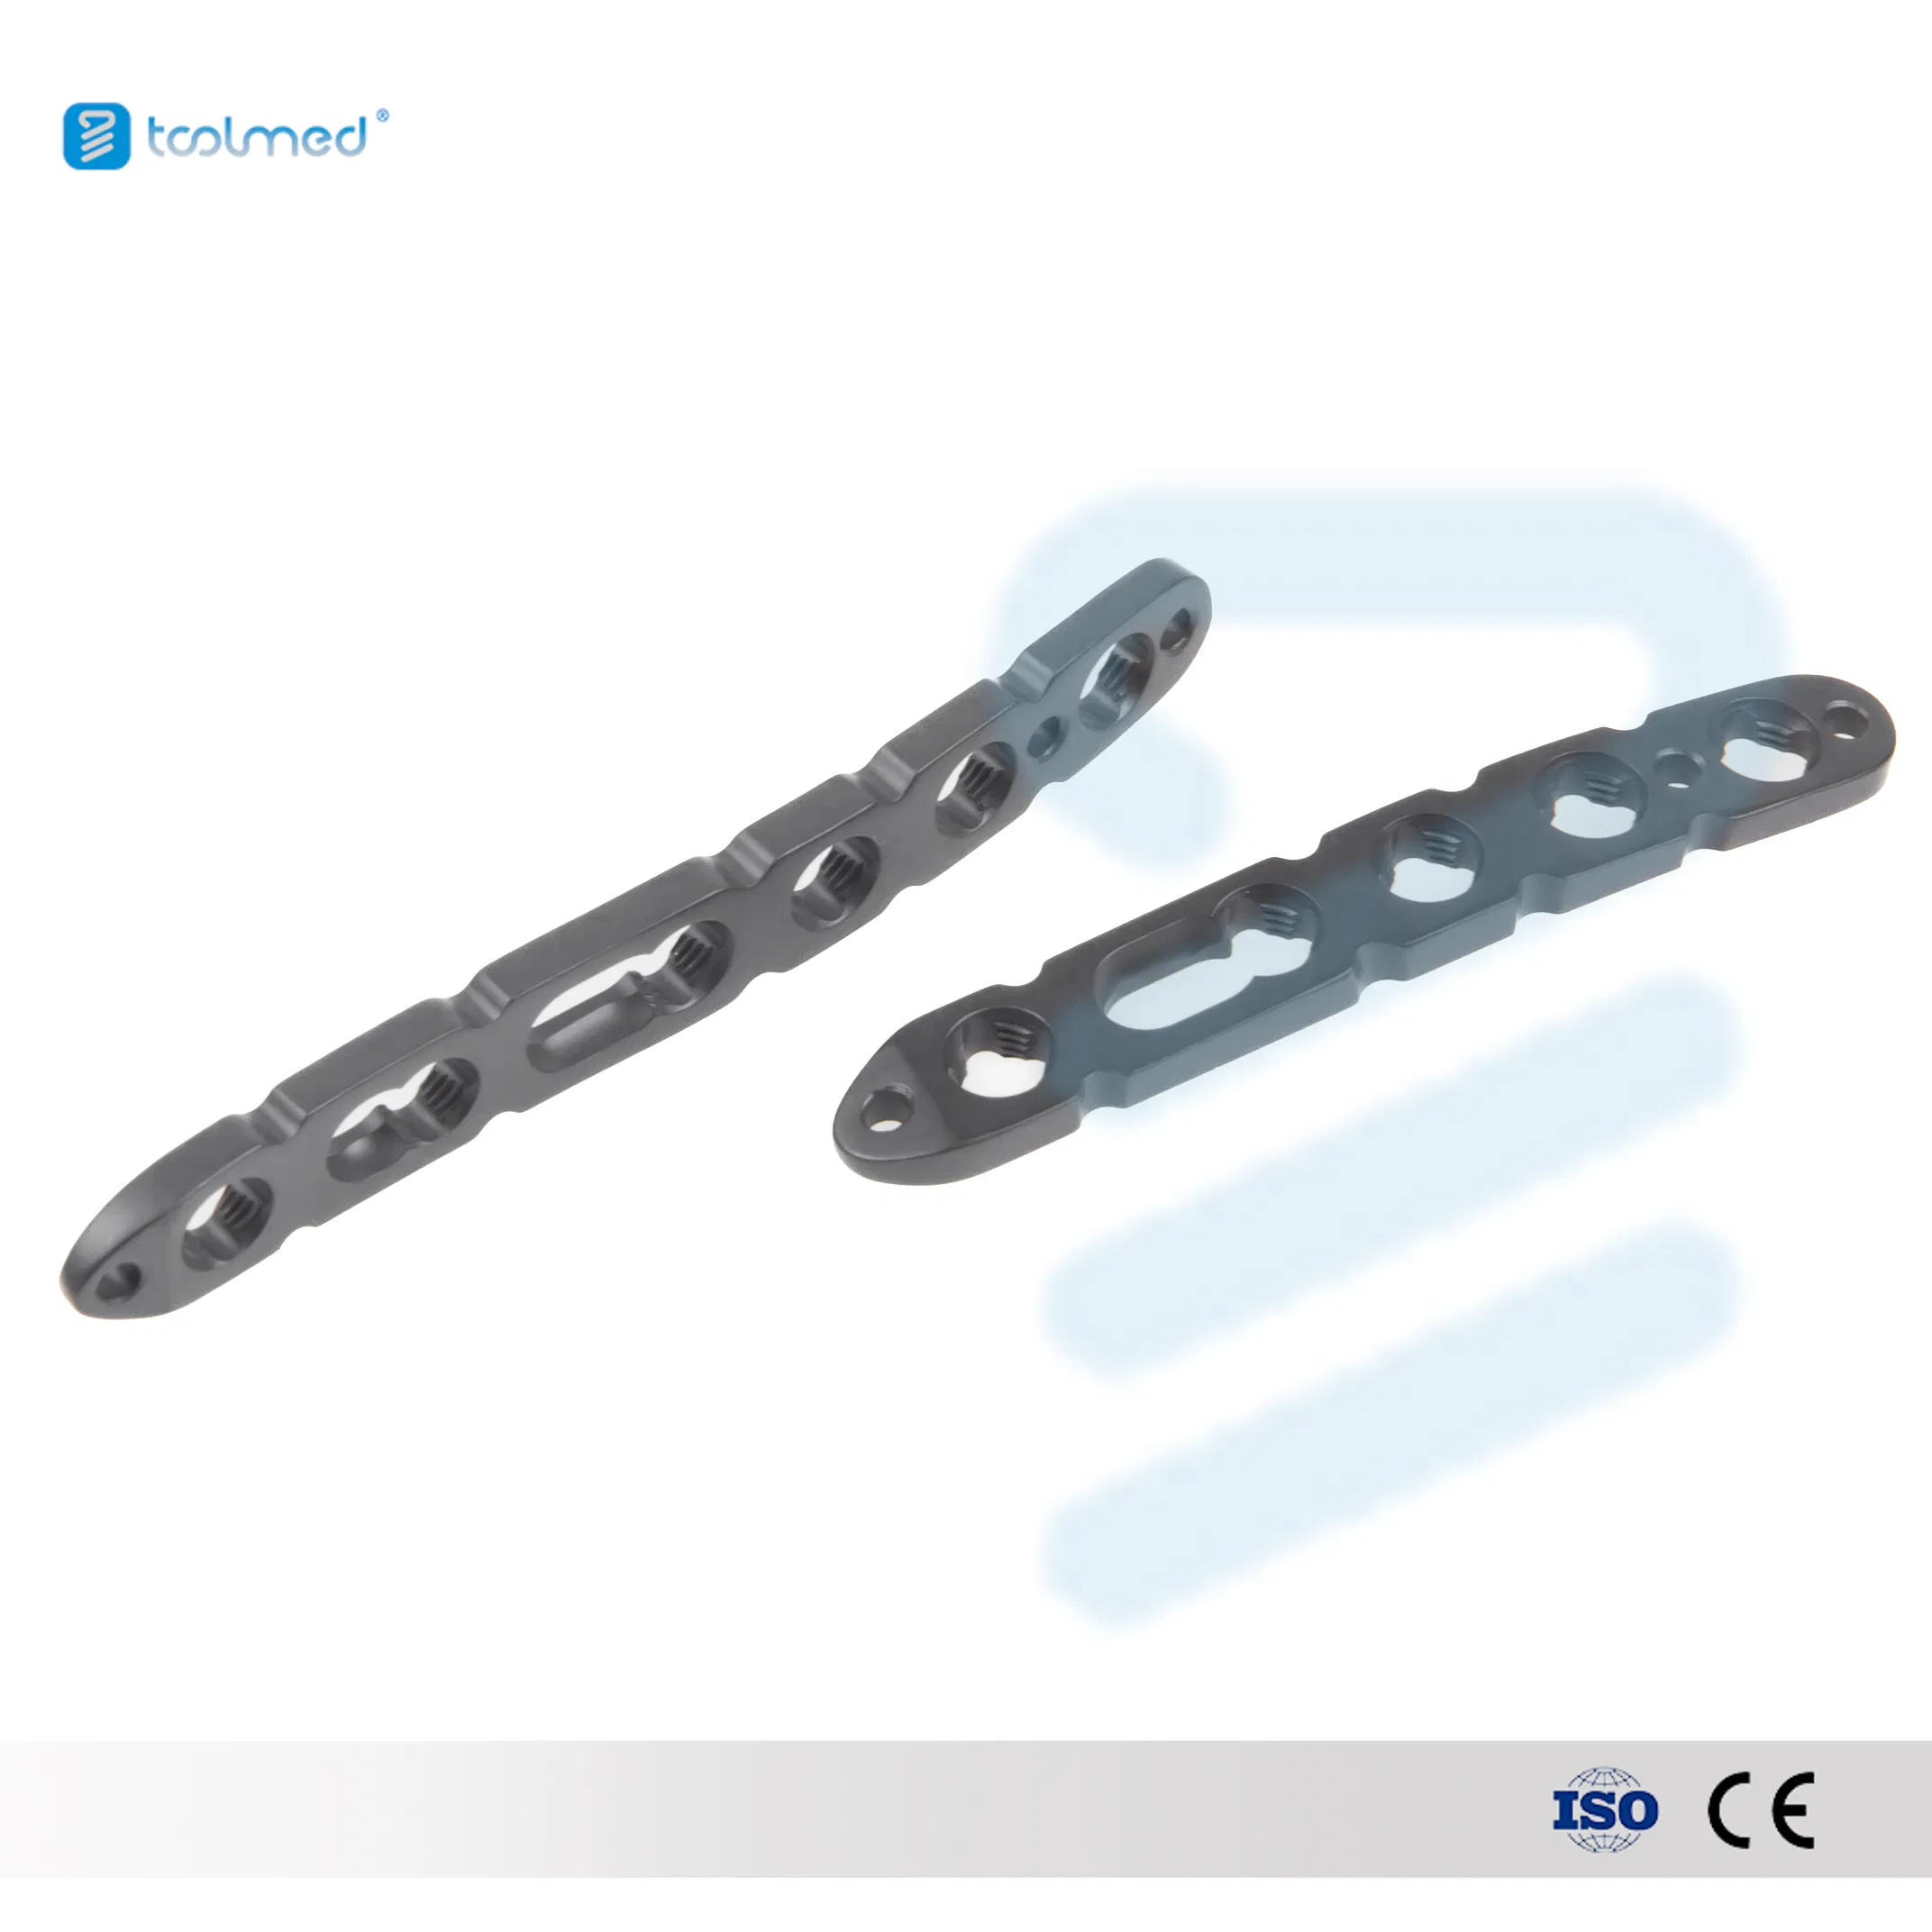
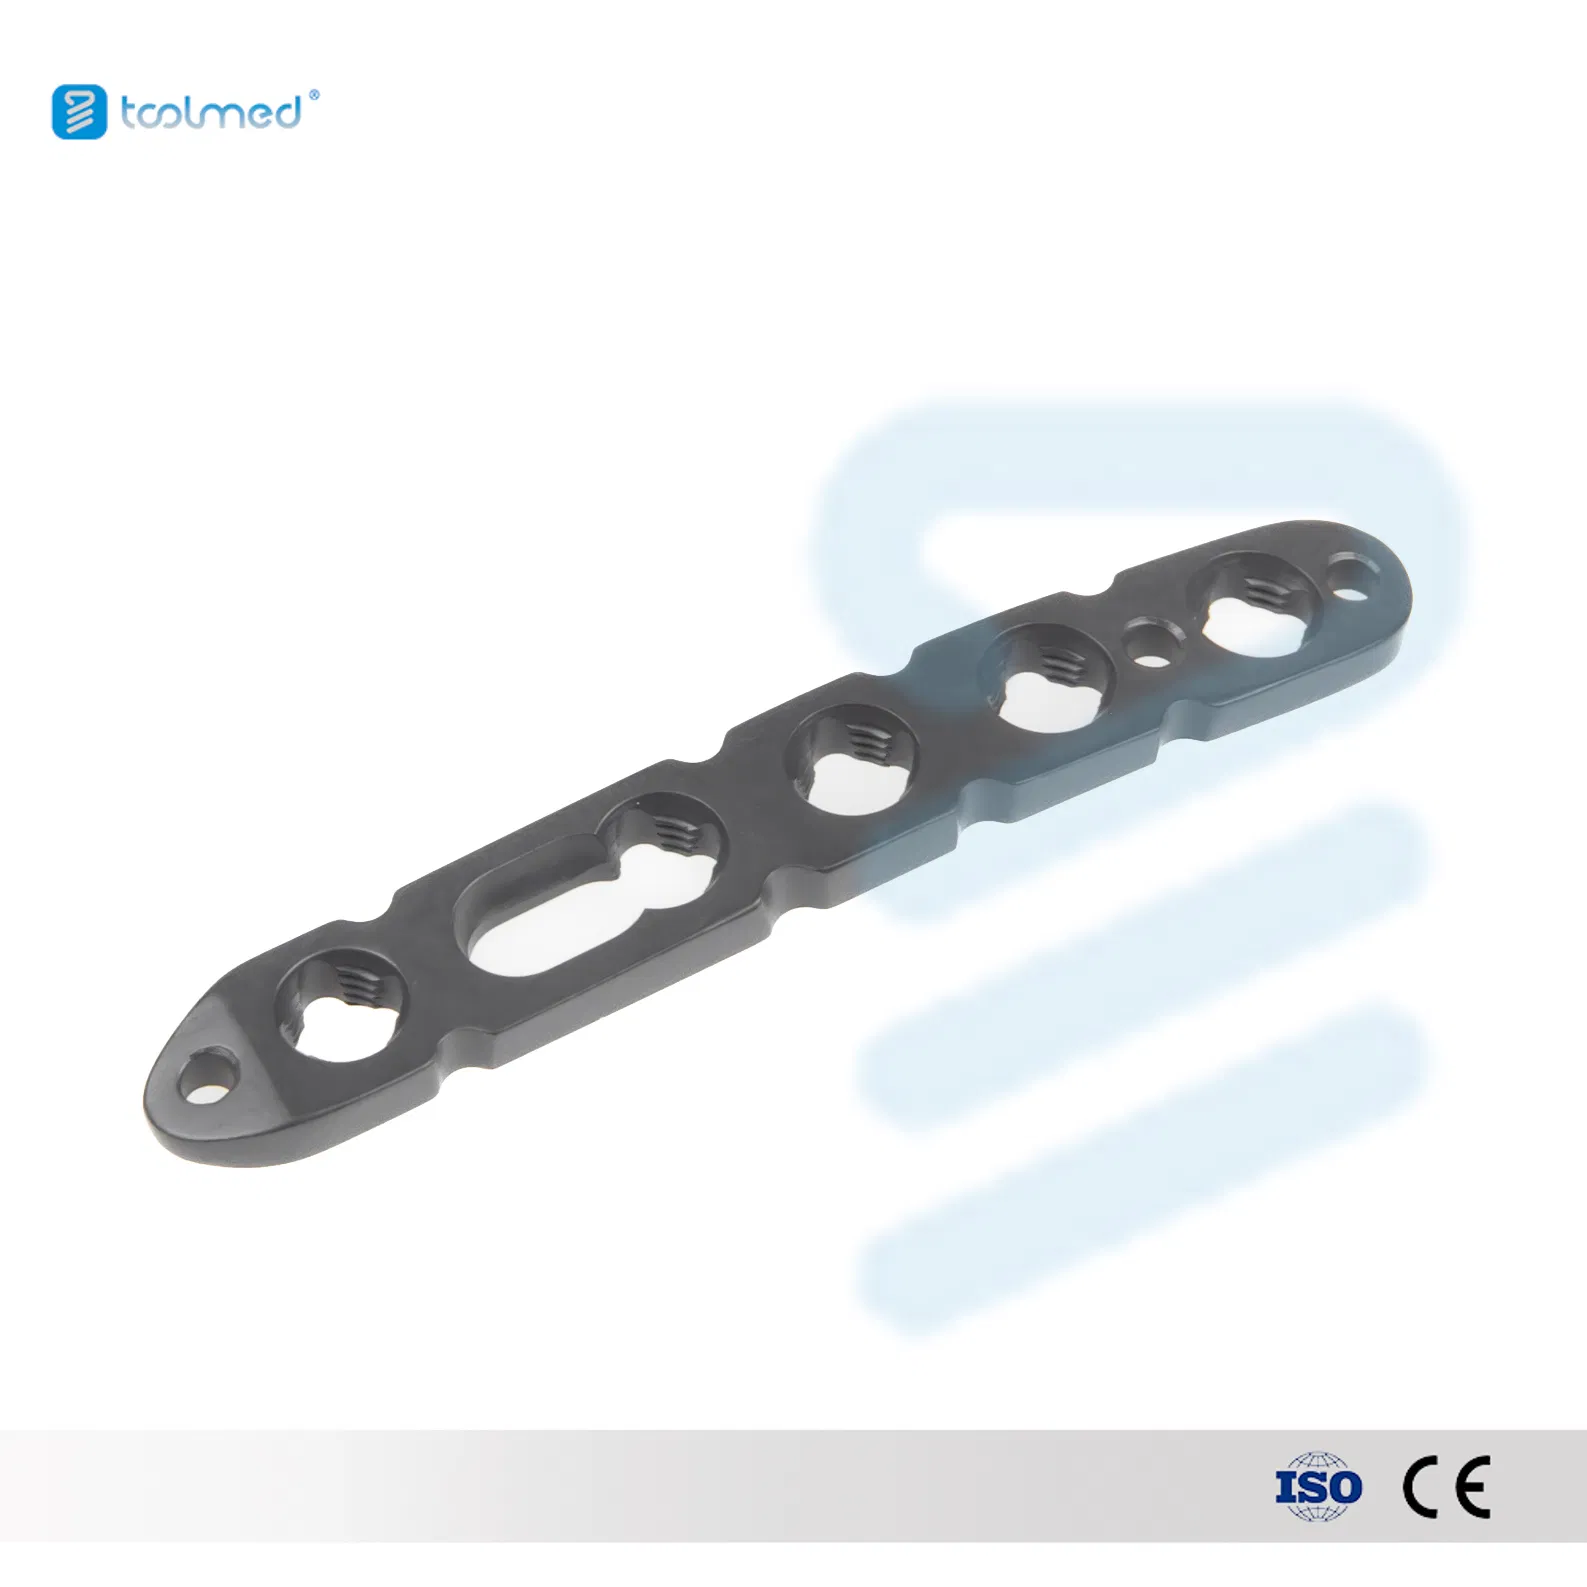
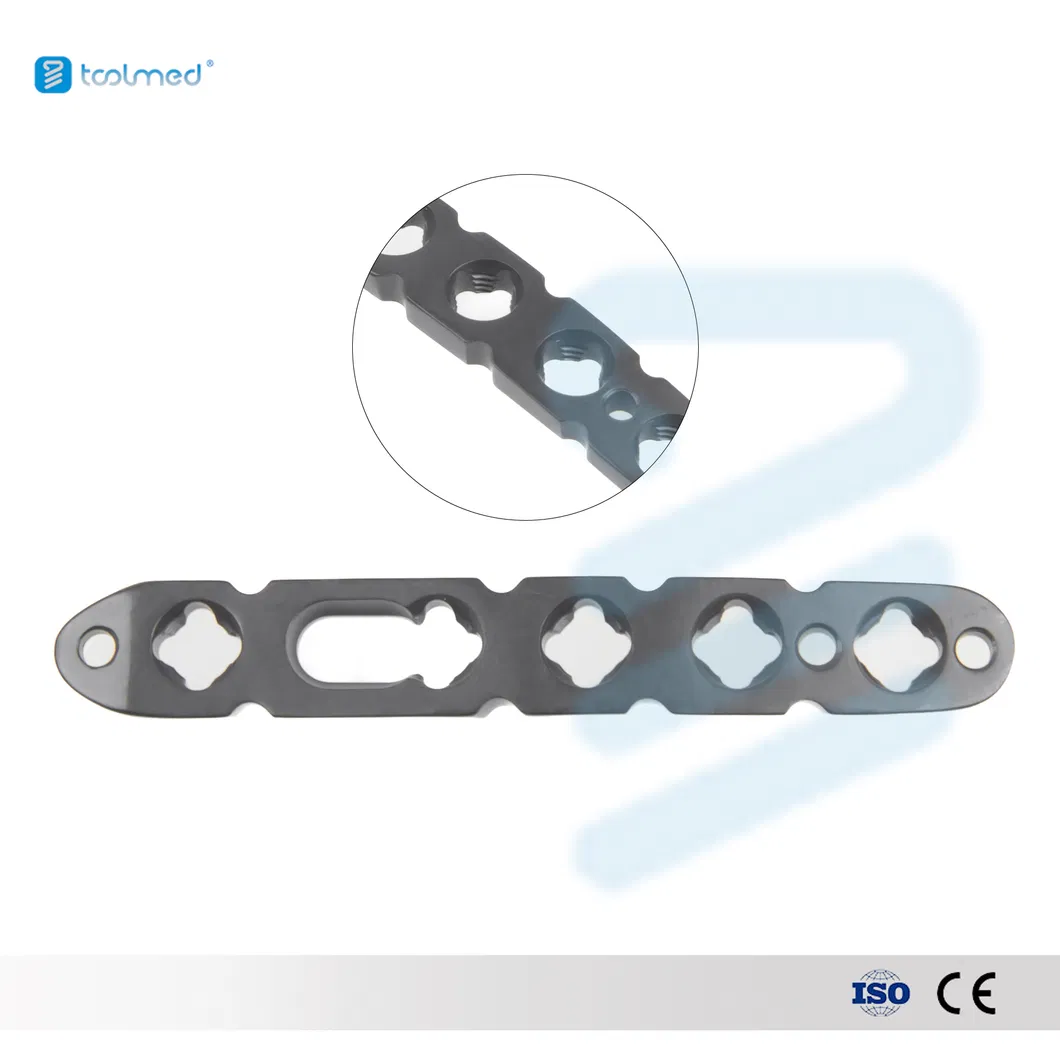
Step 4: Plate Positioning - Place plate flush with the watershed line. Do not place too distally to avoid tendon irritation.
Step 5: Provisional Fixation - Secure plate to shaft with a non-locking screw in the proximal oblong hole to allow adjustments.
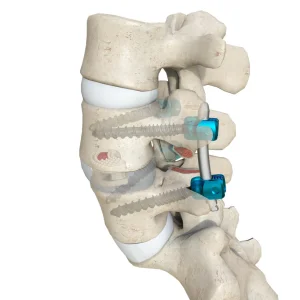
Step 6: Distal Fixation - Insert 2.4mm or 2.7mm locking screws into subchondral bone. Typically 3-5 distal screws are used.
Step 7: Proximal Fixation - Place at least three bicortical screws in the proximal shaft segment.
Step 8: Final Check - Verify reduction under fluoroscopy and assess DRUJ stability.
Step 9: Closure - Repair PQ back over the plate to protect flexor tendons. Standard skin closure.
| P/N | Product Series | Size | Material | Sterile | Unit |
|---|---|---|---|---|---|
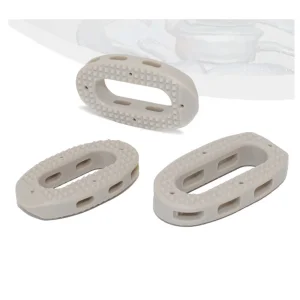
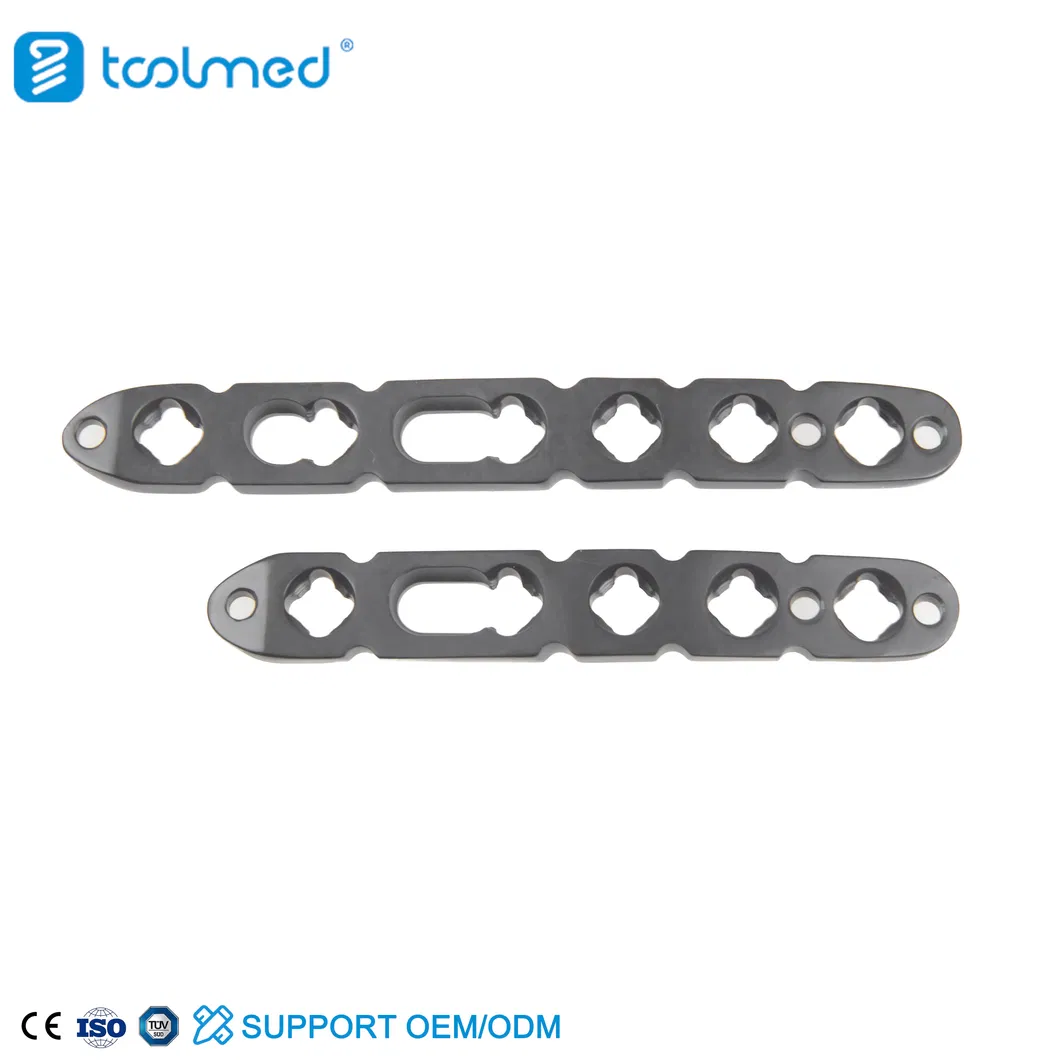
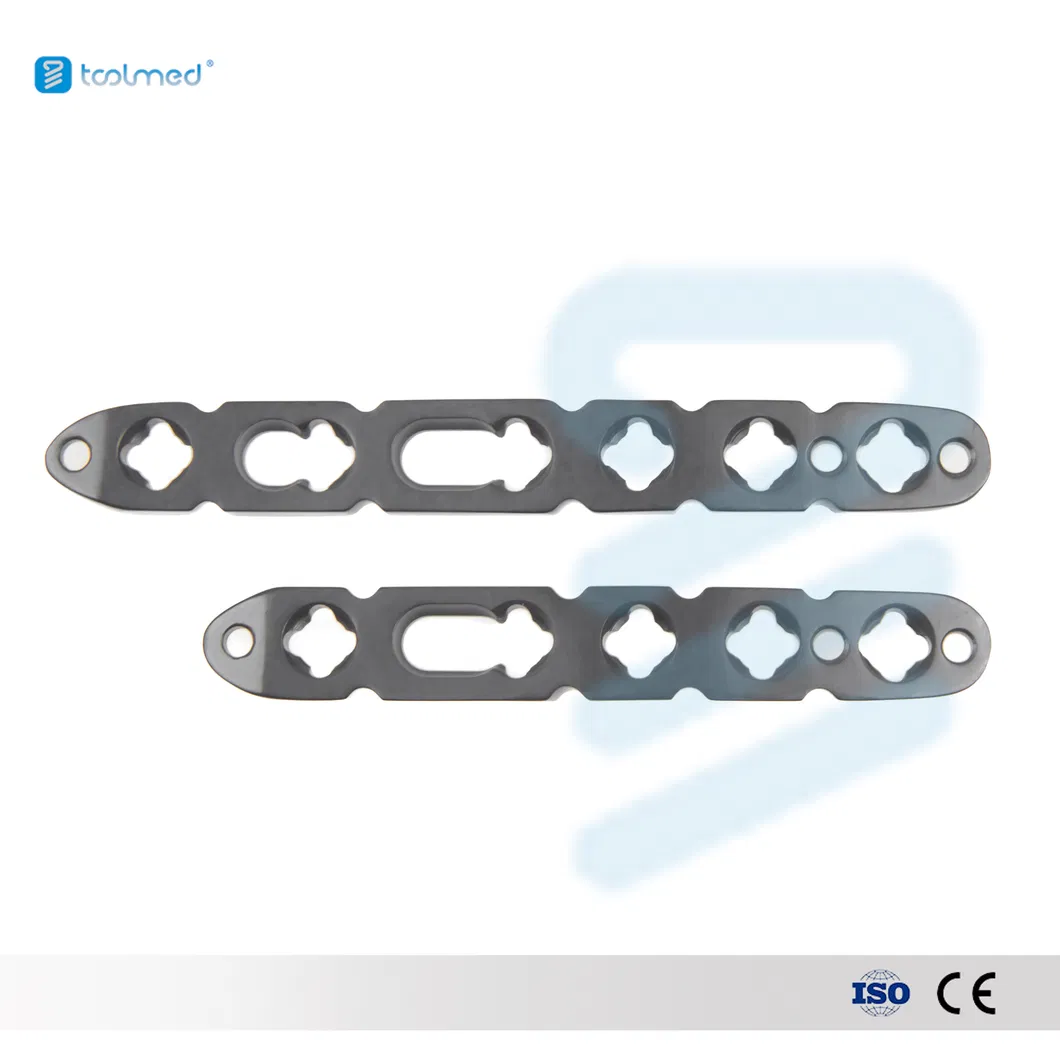
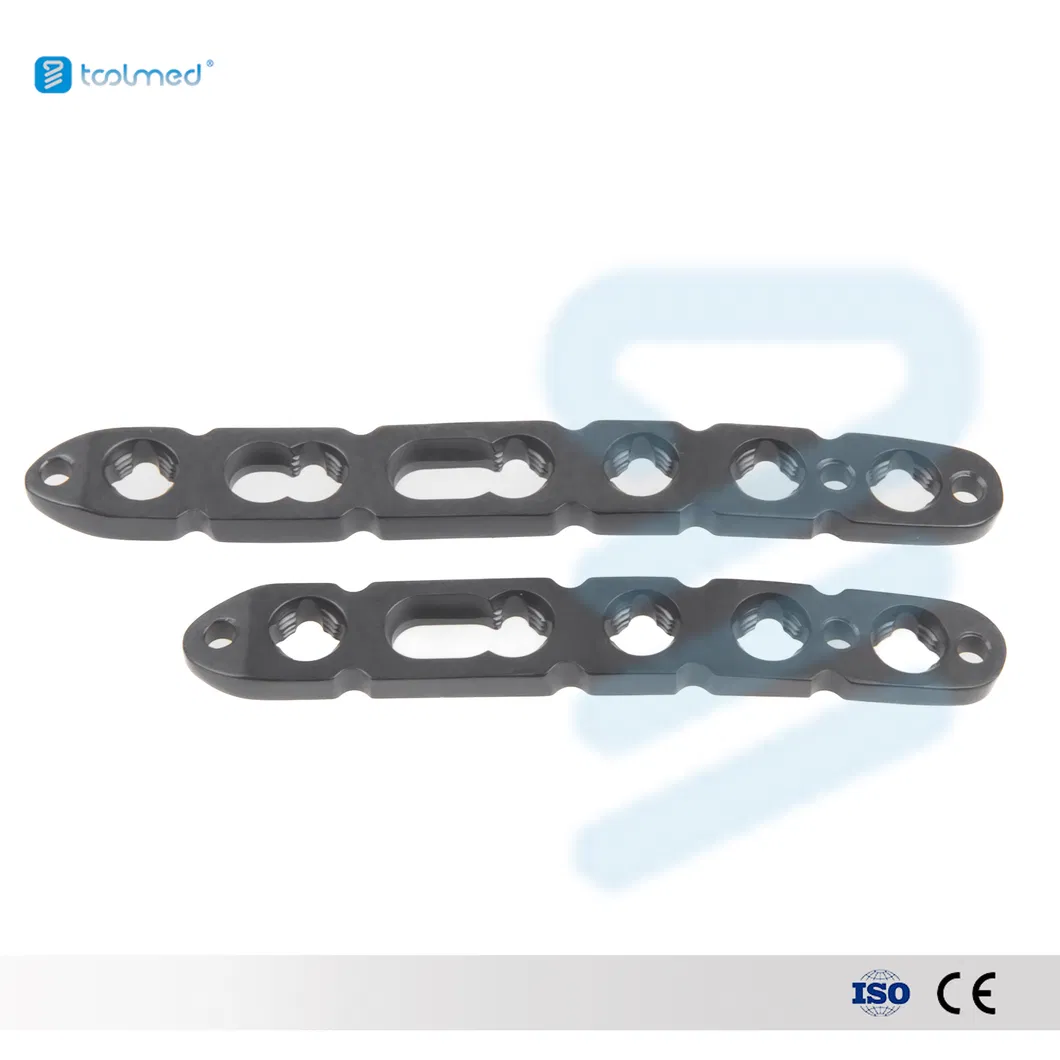
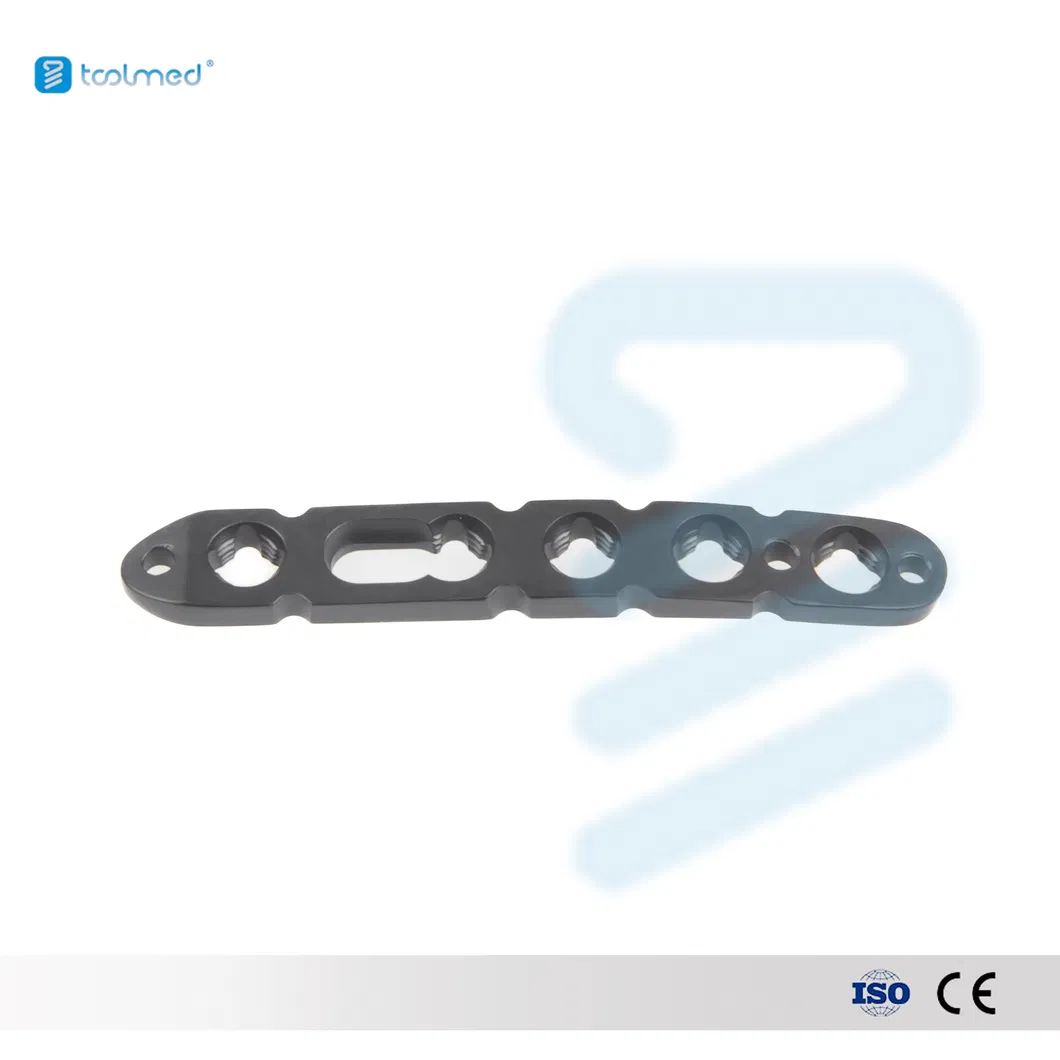
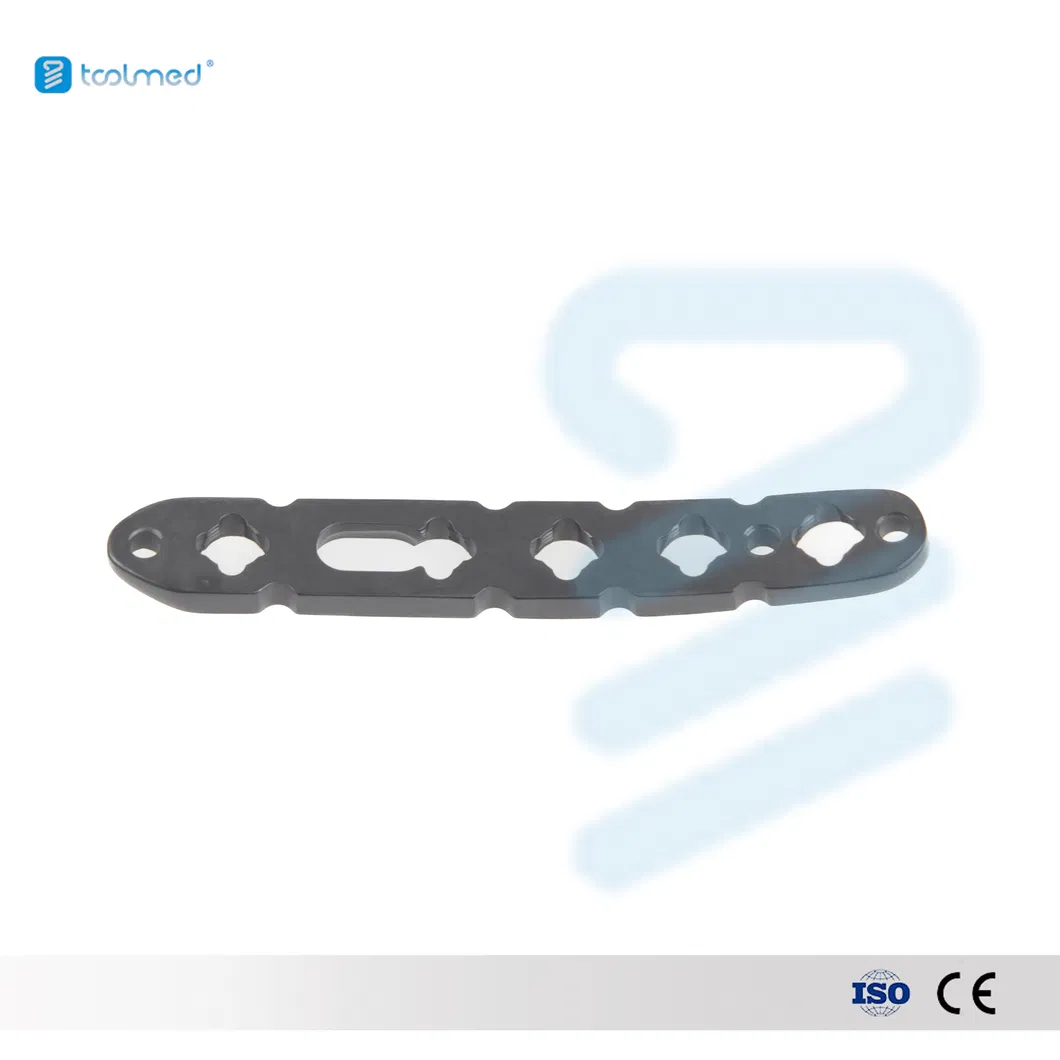
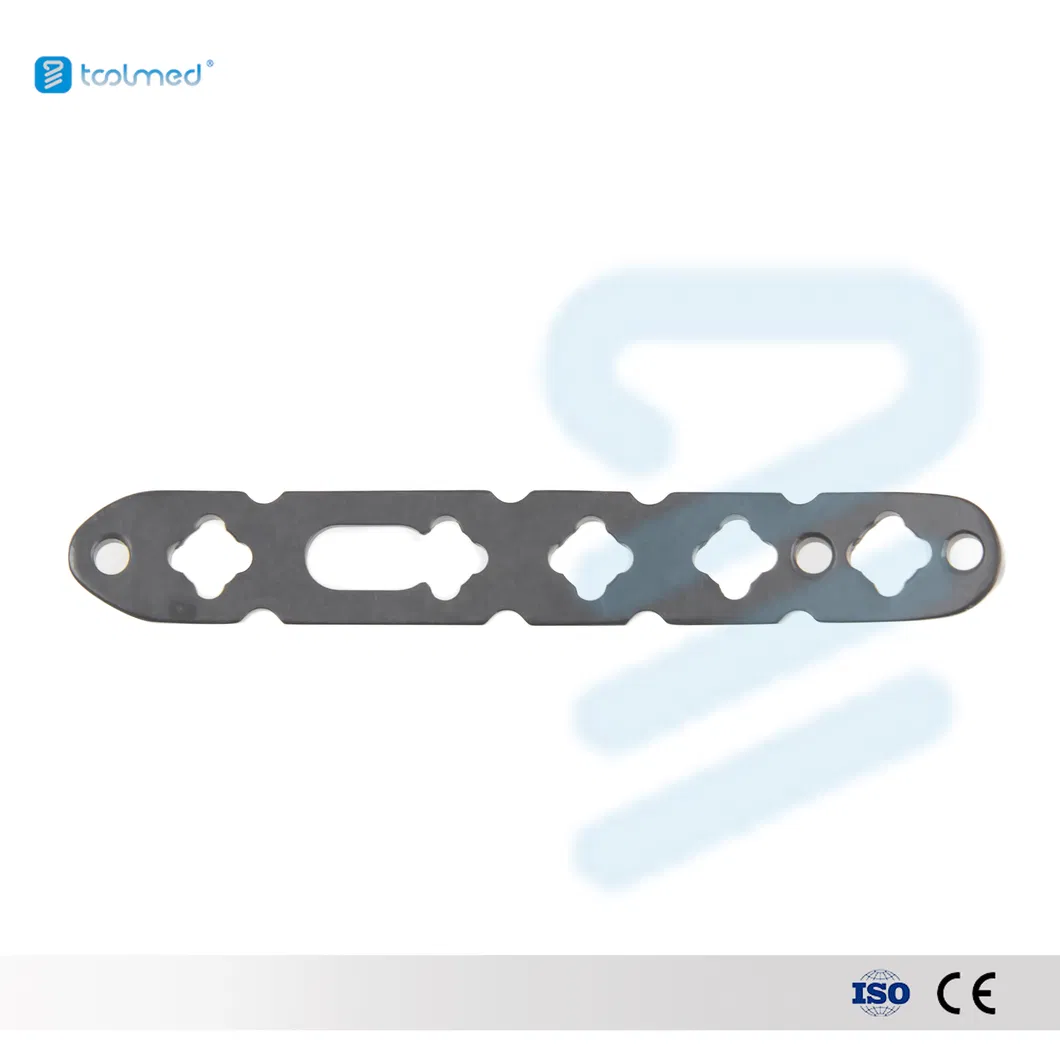
| 3303-0401 | VA Distal Lateral Radius Locking Plate (Use 2.4/2.7 Universal Locking Screw) | 5 holes | TA3 | N | EA |
| 3303-0402 | 6 holes | TA3 | N | EA |


Disclaimer: This technique guide is for educational purposes only. Specific steps and protocols must be tailored to individual patient and fracture patterns.